Description
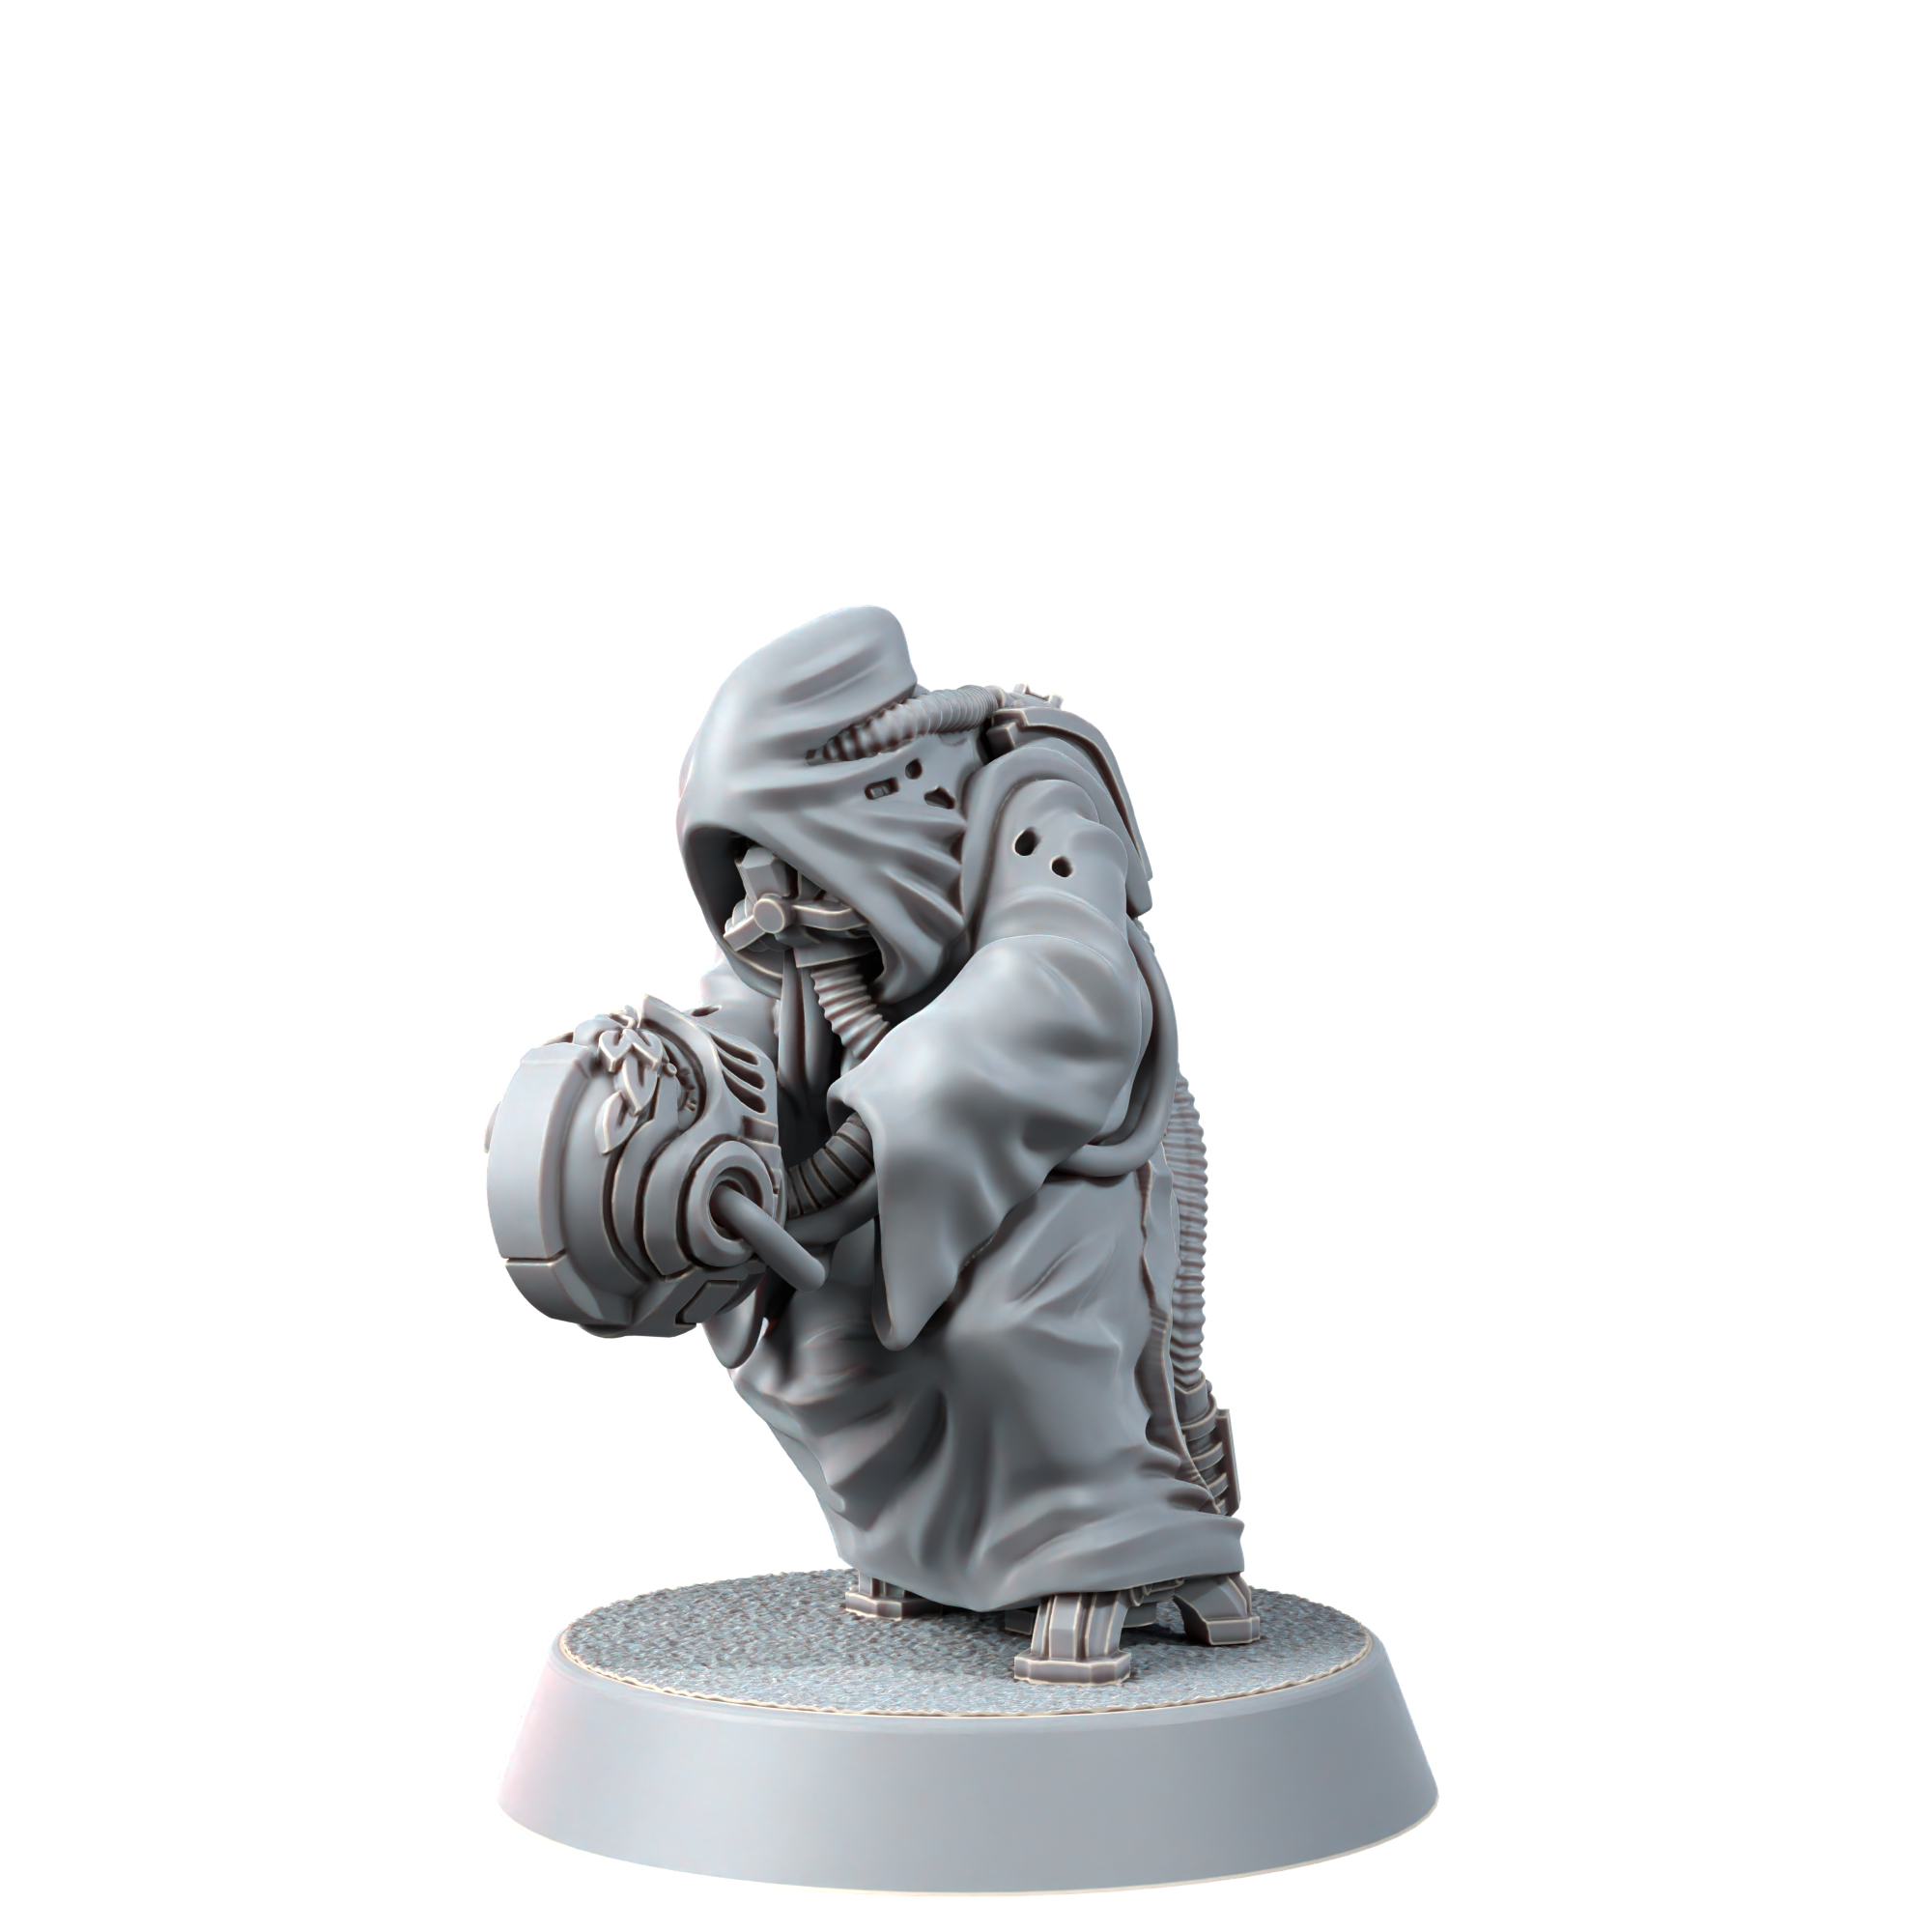
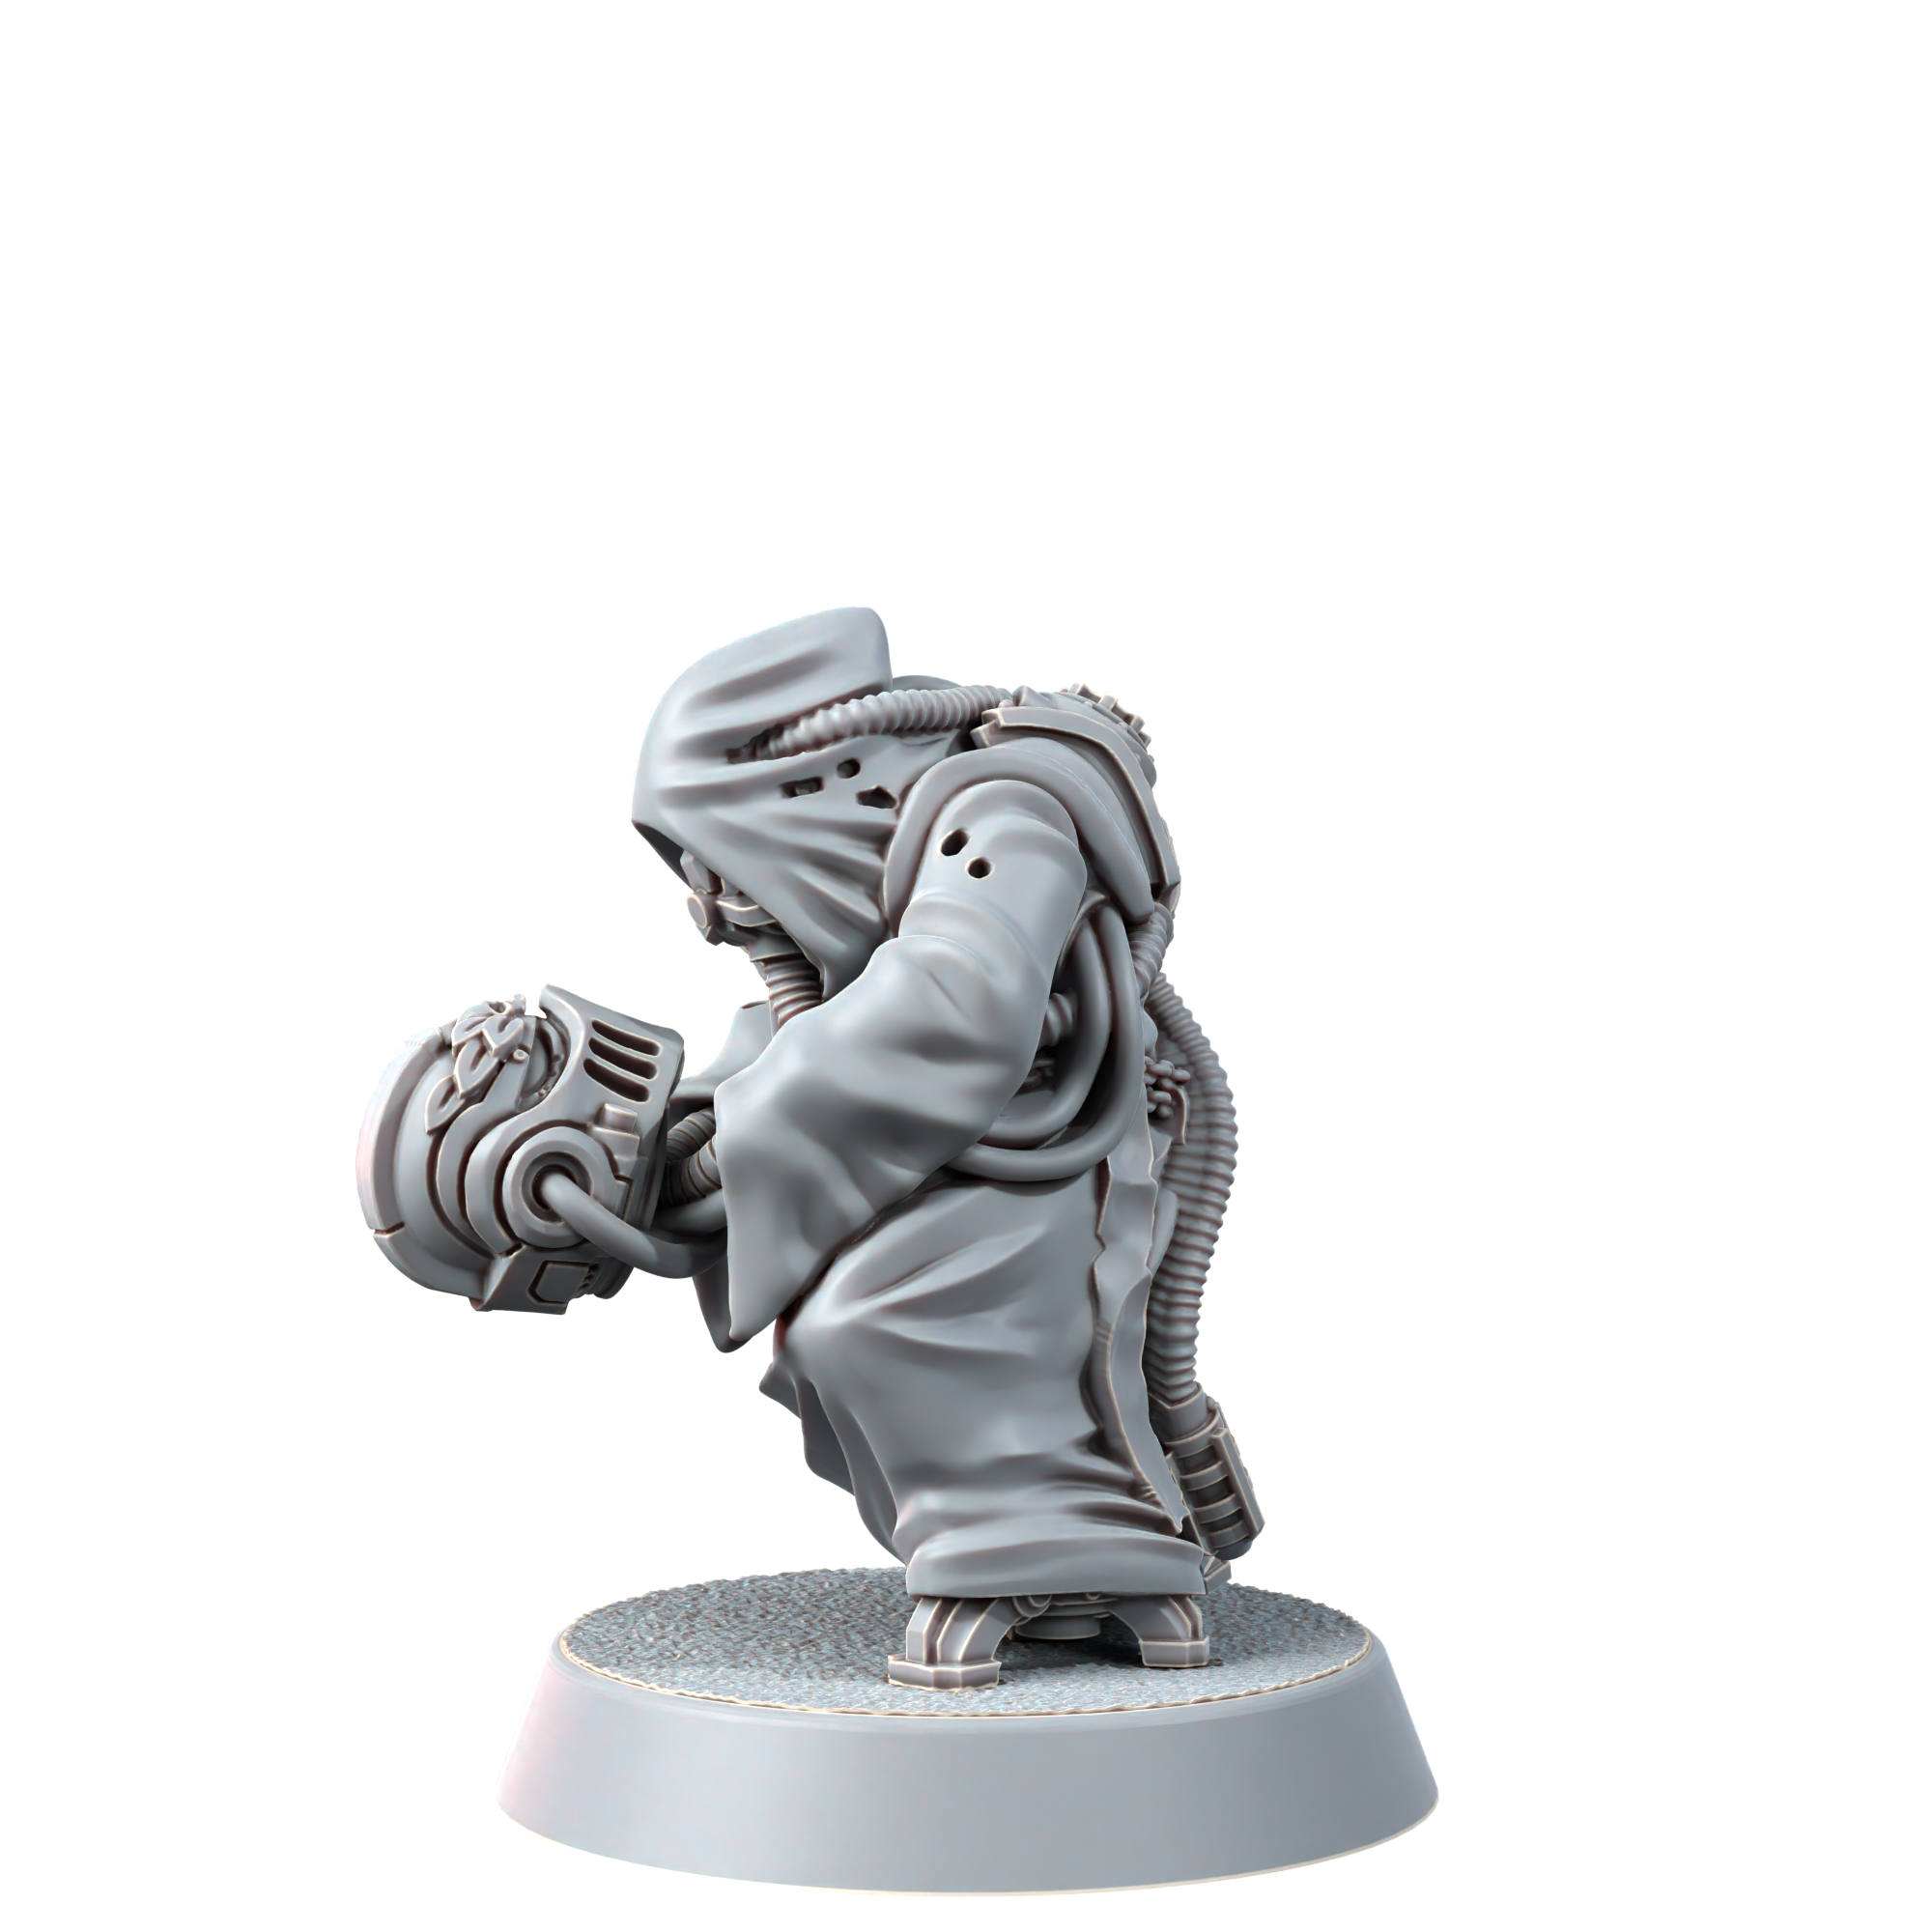
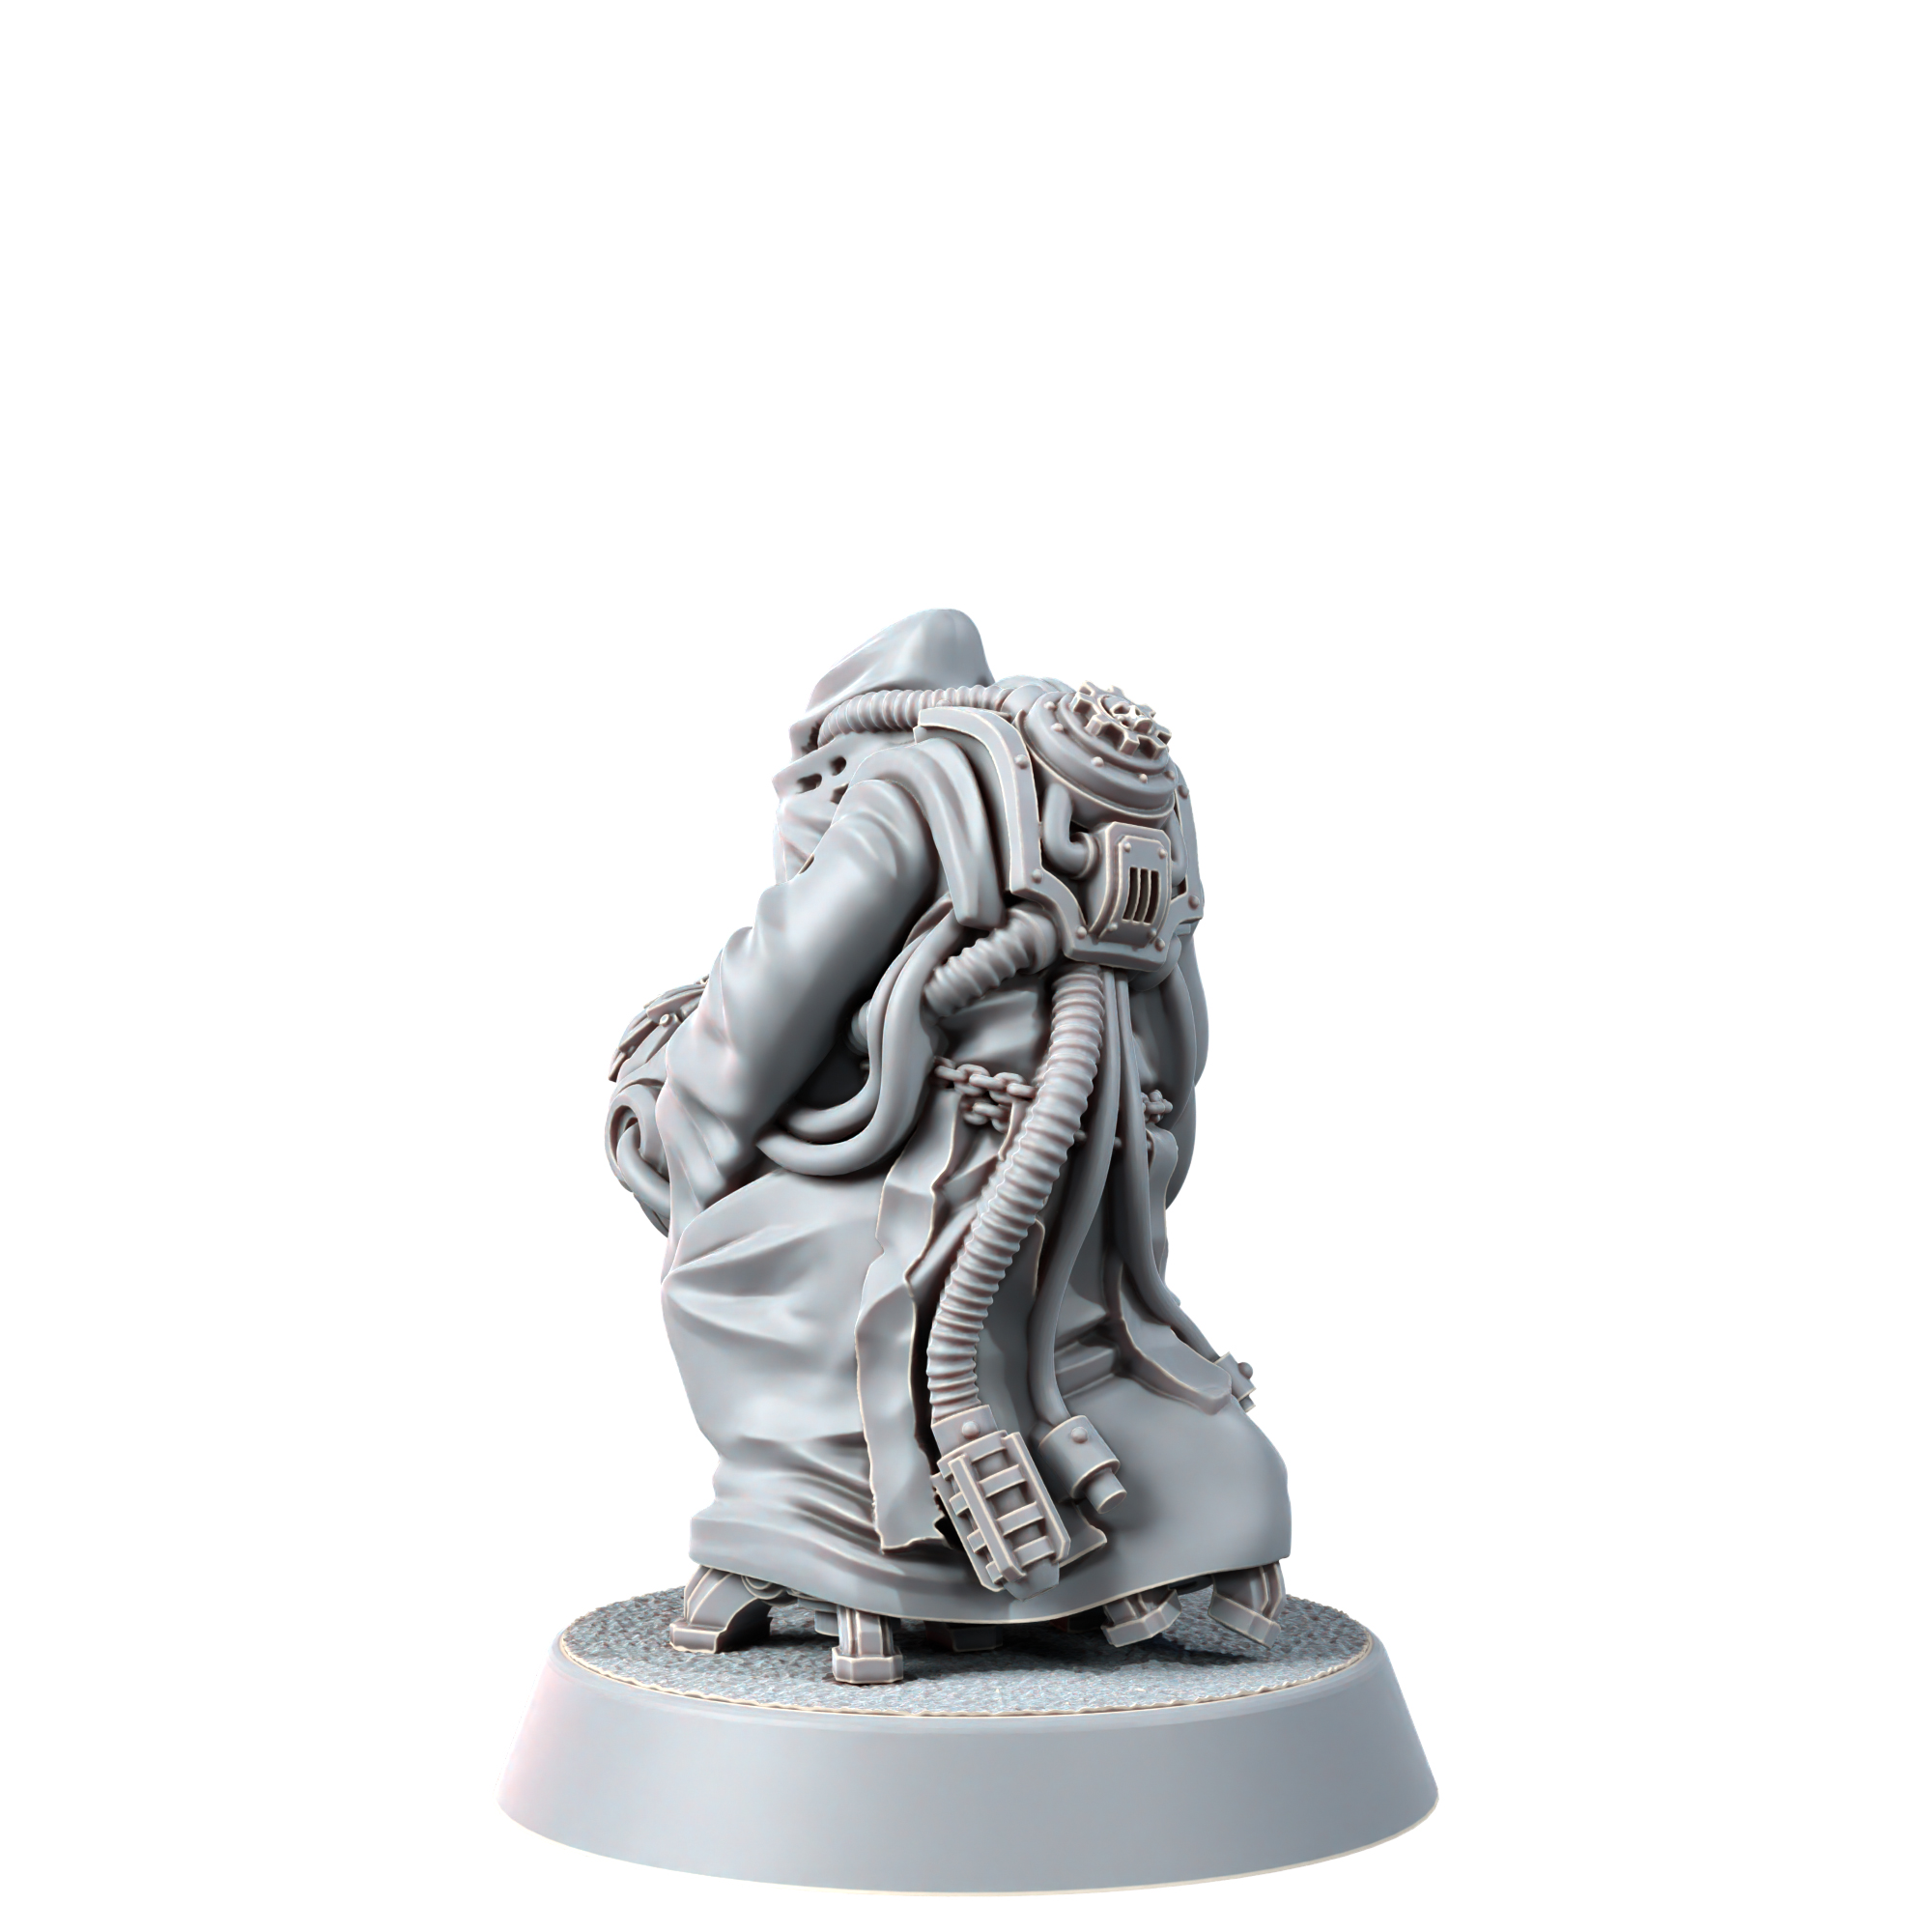
IMPORTANT! This set allows you to build MECHANIC ARMOURY SERVITORS.
HQ resin miniature in Primaris scale with 32mm + 25mm bases.
The miniatures require painting and assembly (use cyanoacrylate superglue only).
PREPARATION
1. Check
Firstly, check out all the details whether there are no missing or miscast parts.
If you have problems with details – please contact us.
Then, prepare warm water and clean each part with an old toothbrush and a dishwashing liquid to remove any excess mould release agent which may still be on the surface of the parts.
Please leave the parts to soak for a while before scrubbing if they feel very greasy.
We highly recommend not skipping this step!
Any mould release agent left on the model may prevent the primer from adhering to the model.
2. Casting Gates
The casting gates can be removed with a pair of clippers. Use a sanding pad, modelling knife or model file to clean off any excess.
In case gates are too large for the clippers, use a razor saw or piercing saw.
3. Mould Lines
Resin components are cast into silicone moulds that have split lines.
Sometimes, there may be slight lines on the model that shows where the mould joins together.
In that case, you should remove them so that they don’t show up after painting.
Please use a modelling knife or a file to carefully scrape or file away the line.
Then a smooth surface with some fine sandpaper if it’s necessary.
4. Warped Parts and Repositioning
Sometimes thinner parts could be slightly bent or twisted.
You can easily fix that by immersing the piece in hot water or by applying heat from a hairdryer.
The piece should reform to its original shape by itself.
If not, gently twist the piece back into position.
The amount of heat that needs to be applied is often determined by the thickness of the parts. Thicker parts need to be heated for a longer time.
This technique can also be used to bend some parts into shapes and positions to pose models.
We don’t collect any taxes or fees on your behalf, so you may pay the customs fees according to the law of your country while collecting the package.










Reviews
There are no reviews yet.